Hello! I bought a second hand Brother Scan & Cut machine from ebay this month, a CM600. Irritatingly realised afterwards that it wasn't unused (liar liar pants on fire Ms ebay seller) and that Create & Craft UK were selling a more 'modern' one with the ability to link directly to a laptop by cable for less money. However, the seller apologised for their mistake and compensated me for the mat that had been cut through, and this week that modern one is way more expensive. So, that's chalked down to experience.
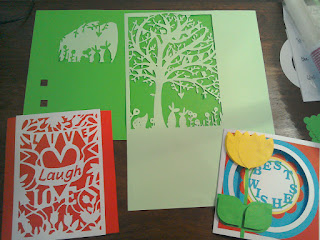 |
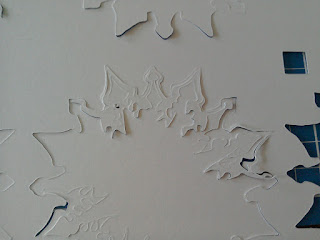
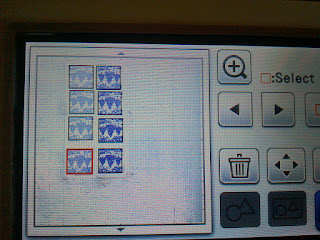
| My initial efforts using the Scan n Cut CM600 |
Once I got over my hissy fit on my buying errors (sigh), I started
using the machine, looking on the net for videos and blogs and other
info on how it works. Frankly, it can do so much, so many different
things, that it's really really hard to know where to start, especially
if you've never owned one of these machines before. It's expensive and
you're frightened of breaking something.
And
talking of experience, one of the things that has really astonished me
is, how hard it is to work out exactly what to do to NOT cut through
one's mat with one's first try and how to make sure the machine is set
up to work perfectly from the get go. I've googled a lot, and there's
not any easily accessible resources with a total newbie's fears in
mind. So I thought I'd do a series of things I've learned. This is the
first one.
I've added pictures of the sort of things I've been up to, so you can see the ideas and techniques I'll cover for starters.
So, off we go. Right from the very basics:
What Scan & Cut Accessories will I need to do the very basics?
At the very least you should own -
- a scan & cut machine with power cord and an electricity supply (told you we were starting from the basics lol).
- a plastic spatula and touch screen pointer
- a standard (blue) blade holder and blade
- a cutting mat (with clear protective cover - KEEP THIS clear cover you need it forever!)
- the Users Manual (on CDRom or download from the Brother support website).
Anything else?
Yes - you need to have already or buy these extras -
- A compatible USB stick that's empty
- Cardstock or paper that's not handmade/fluffy so it doesn't shed fibres all over your cutting mat.
- Alcohol free baby/wet wipes.
- It would be really handy to have a printer attached to your computer but otherwise pen & paper will do to note down WHERE to find the information in the Manual or Online to do certain tasks. Some of these are ones you won't do often enough to remember where to find the info.
I have lots of other accessories, what about those?
We're learning to walk before we can run! We'll get to them later on! This series is going to get to a LOT of stuff later on, just bear with me as I find out how to do stuff, and blog about it!
 |
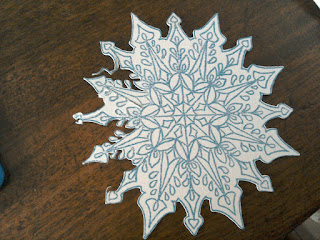
| Embossing on Vellum using a 'hack' of embossing tool and the Draw Function |
Anything I need to know before we start?
I think it helps that you understand that
- Brother issue software upgrades apply to ALL machines, giving extra functionality, and you only need the latest upgrade for your machine, you don't need to do earlier ones as well. Currently ALL machines need USB stick to get the upgrade into your machine (this will change for SnC2 wifi models in due course).
- Only the USA people register their actual machines with Brother. The rest of us don't.
- The Mats and the Blades and Pens and most of the other Accessories are CONSUMABLES. You will have to buy more of these, but there are ways to make them last longer. Yes I will be blogging about this!
- Doing test cuts for each and every new sort of paper or card you use in the machine will immeasurably lengthen the life of your Cutting Mats, and your Blades. And stop you crying with frustration!
- Each of the Holders - whether that's a blade holder, pen holder, universal pen holder or embossing folder has little vertical plastic bits on the back, the machine uses those to tell it what function it has. You can't cut with a Pen Holder etc. This is to save your mat from accidental destruction!
It also means that you can 'hack' some functions to do more things, like use a manual embossing tool in the Universal Pen Holder to do embossing, but you have to use the Draw function, the Embossing function will only work with Brother's own Embossing Tool Holder (and therefore their embossing tools). More on such things later on.
WARNING: Any 'hacks' you do (whether I cover their existence and how to do them or not on this blog are AT YOUR OWN RISK. You need to be aware that doing such things may invalidate your Warrenty. Though of course, once the Warrenty expires, the risk is merely reduced to whether or not you are going to knacker your machine and have to pay to get it sorted out.
- Brother has a UK and a USA Scan & Cut website. Project Books 1 & 2 are available from the UK site, and all the projects in Project Book 3 are in the USA site. These are great (alongside the Manual) for learning how to use your machine).
- Brother has provided a FREE to access online software tool called Canvas. This also has lots of already set up projects in it as well as giving us the ability to manipulate or create new images in the software to cut, draw or emboss with our machines. If you buy a 'kit' like rhinestones or embossing or stamp maker - the Kit Activiation Code is for using in Canvas and unlocks additional functionality and projects/patterns.
- The other sort of Activation Code is to activate the wi-fi ability on the SnC2 brand new top end machines. Some come ready activated, others you have to buy the Activation Code.
- Finally, there's some great Facebook groups for learning how to use the Scan & Cut and the Brother's online software Canvas (and other software).
 |
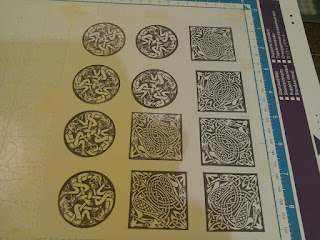
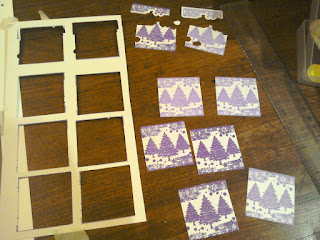
| Using the Scan Function and the Rotate and Flip Functions to place motifs so not to waste scrap paper |
 |
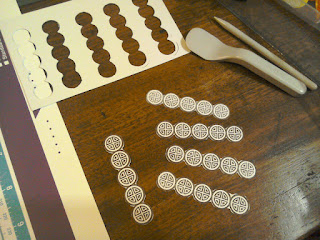
| Resulting cuts once the uncut paper was removed |
Let's start!
- Get your machine out of the box. Check everything is there according to the Contents paperwork. Put it on a sturdy table that won't wobble, and plug it in.
- Put the CD-Rom in your computer and print off the CONTENTS pages at the beginning and also the INDEX page at the end.
Or, go to the online version at the Brother Support Site - you pick your Country then Manuals then your machine model. (If you can't find your machine model, try Europe and Others - that has the older now superseeded machines in it).
Why do this? Because it's then far easier to navigate the CDRom or online support manual when you have the contents/index pages to look at in hard copy form! Saves you printing off the whole thing. However if you are happier printing off the entire Manual, please feel free to do so.
- READ THE MACHINE SET UP initial pages of the Manual. This is Manual Section 1 Getting Started pages 9 to 24.
Seriously, read these! BEFORE you do anything with your machine. I will help you familiarise yourself with the machine and the different screens and icons. You ae going to save yourself a lot of frustration and potentially money from not having to buy replacement consumables right from the start by doing this. You've just spent a couple of hundred pounds on this machine - it's worth spending half an hour reading this part of the Manual!
That said, there's some bits in there I'd not be quite so gung ho about, like the blade, pressure and speed settings, but fret not, we'll come to that soon!
Next Post - Installing Machine Upgrades and why you should do it before you do anything else! HERE
 |
| Cutting Stamped Images - Disaster - back |
 |
| Cutting Stamped Images - Disaster - front |
 |
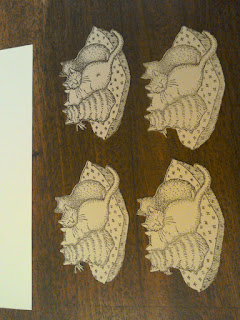
| Cutting stamped images - Success! |
 |
| Cutting stamped images - Success! |
 |
| Using Scan Function and Square Motif to cut 'open' stamped image |
 |
| Initial failure top 2 with Direct Cut, success bottom six using Squre Motif |
 |
| Direct Cut success! |


This is great I will be following you, when I've worked out how to lol. Julies
ReplyDeleteBest blog on the net !! I have a scan n cut and hardly use it as I wreck most things ��
ReplyDeletevery good ,i haven't used mine for a long time so i will get it out and follow your blog.
ReplyDeleteWow. I will be following your learning blog. My SnC is just sitting on the shelf. Thanks. Brenda
ReplyDeleteJust want to add that if you use the universal pen holder to emboss you will invalidate your warranty, get the correct tools for the job but ignore Nel Heaton advice and start at -6 line embossing
ReplyDeleteThanks for that, I've added the warranty info to the relevant bit in the post.
DeleteUseful to know re the pressure too, this is with the official embossing tools you start at -6 I assume?
This is a great site. I am.still a beginner mainly due to time constraints x
ReplyDeleteHazel
Hi, I've been reading your blog and I saw that you referenced project books. I've tried to find the project book 3 on the brotherUSA website but can't find it. Help?
ReplyDeleteAlso, you referenced the online Notifications with PDF files in the online Manual for my model 650WX. I can't find it either. The online manual is the same as what's on the CD I received in the package. Help?
ok let me go rummage:be back shortly with answers [delay for rummaging]
ReplyDeleteOk Notifications first. Go to brother support site for your machine and country. find the manual section, scrool down, there's Notification - just 2 for you. look http://prntscr.com/hx15do So I would assume that means that your manual has been fully updated to all the previous Notifications content.
To check, look at an older machine, say the cm100. this link here - it shows all the earlier notifications - so you can check those out and see if there's anything missing from your manual in terms of info on how to use it. I think v1.6 or v1.8 are the big ones... http://support.brother.com/g/b/manualtop.aspx?c=us&lang=en&prod=hf_cm100dmeus
Now for project books.
ReplyDeletethis is the link for the first two project books in the UK. This shows two books you can open and look through and download http://www.brotherscanncut.co.uk/en_GB/projects;jsessionid=450EA4DBF029191F626115366766967C
if you go to the usa brother website, and look at projects there, you can find the EXACT same projects as individual projects, not in a book, with downloadable cut files. here http://www.brother-usa.com/scanncut/projects.aspx this makes it easier than trying to fiddle on doing screenshots of the actual books in the uk site.
What I noticed was that whilst the actual project book 3 wasn't on the uk site in projects, the INDIVIDUAL projects are in the USA site (same way the contents of books 1 & 2 on the UK site are in the USA site as INDIVIDUAL projects). sorry for any confusion there!
since I wrote the blog post a year or so ago they've added more projects so it's not as easy to tell which ones they are. but basically I was saying taht what's on the UK site, is also on the usa site with MORE. And also that you don't need to buy project 3 book cos those projects are part of the more in the USA site.
No idea if that helps but it's as clear as I can manage right now!
I was able to find the project books 1 & 2 on the UK website using the link you provided. Thanks.
Delete