 |
| This Flamingos Papercut is currently available to buy in PDF form HERE I've been testing how it cuts as an SVG file |
First off, Brother reckon that the machine will only cut things down to 5mm (say a circle). Nope, I proved that with a super low speed and the right settings for blade depth and pressure, it will cut smaller (though it's fiddly to weed.)
Secondly, this exercise proved that with care and the right settings, you can still cut a reasonable result with a broken blade lol. Though to be fair only the very very tip of it was broken off, with a blade broken further down the tip it wouldn't be possible.
Thirdly, when testing a file someone else made, you can really really save yourself a LOT of head scratching if you take the trouble to find out what size it SHOULD be! However, it's good to know how intricate and tiny the machine can cut!
So how did this all start? Well, I've always loved manual papercuts, particularly Chinese and Polish paper cuts, I own a few as 'art'. And before I became unwell and too feeble, I used to love doing 'fussy cutting' for my card making etc as well as actual manual papercuts. Part of the reason I wanted to get the ScanNCut was the hope that I could do papercuts using the machine.
A month or so ago, Facebook showed me an advert or maybe a friend had liked a post, anyway, of a craft/designer business called Embellish Cuts offering a free manual papercut as a PDF email (it's a reward for signing up to her mailing list. It's still available HERE and is super cute - Love In the Woods.
 |
| Love In the Woods - free PDF template from EmbellishCuts HERE |
So, the designer Amy sent me a file. She's a designer using I think Illustrator, and I'd had my machine about a week. So I tried opening the SVG in Canvas and in the Machine.
Initially it looked ok, but it was two images and also the word Embellish was cutting very very finely and making a right mess. So I fiddled around in Canvas and stripped out the extra bits, so that I could try cutting it. Initially the file she sent me was of 2 images, one line drawing and one for traditional manual cutting with the cut areas printed in a colour. So the test cuts show 2, because I was doing them both to see if there were any differences.
It drew out fine (multiple lines initially) and as far as I could see, there was space between each drawn line, therefore the cut wasn't going to collapse into confetti!
 |
| Using the Draw function to see what the design will look like when cut |
 |
| Project from Brother Project Book 1 - find on Brother UK website |
Learning Point No. 1. The more intricate the cut, the more tensile strength your paper needs to have! It was a disaster!
 |
| It managed the first bits of a space between the flamingo legs, but when it got to the foliage. Nope! |
 | |
| Lovely clean test cut, whoah poor actual cut! This was Cut 1. |
Learning Point No 2 - sometimes the test cut is great, but the cut not so good. Alternating setting changes in pressure and blade depth can sometimes fix it.
 |
| Cut 2 worked better, but some half cuts |
 |
| Cut 3 improved but still some half cuts |
 |
| Cut 4 - still half cuts and now the blade was misaligned obviously too |
 |
| Cut 5 - success! |
Learning Point No 3 - Do a blade alignment before you start anything intricate
Learning Point No 4 - Increasing your blade depth by 1/2 again maximum will probably get rid of half cuts on intricate designs on thinnish card without killing your mat.
So in future, if I get Cut 1 again, I'll know to increase blade depth by 1/2 point max and change blade pressure by 1 max and I'll probably get a perfect cut without cutting my mat in half. HOWEVER, I did it incrementally because I wanted and needed to learn how to fix the problems for myself rather than just whacking up the depth and pressure and hoping it would work. That's what the Age of Enlightenment (18th century) gave us - a damn good reason to follow empirical evidence and make small changes for a controlled result to extrapolite how to improve the outcome. Just saying :)
I was super chuffed that it had worked, and sent it to Amy, who said 'oh it's so small'. What? says I, small? Yup, it's supposed to fit into a 10x8 inch frame, but was coming out on that file as about 5x 4.5 inches. LOL.
Learning Point No 5 - The machine, if it's set to a low low speed can do far finer more intricate and delicate cutting than Brother says. Those bird eyes, they're not even 1mm across and it cut them! (I needed a needle to weed them but they are clear).
Learning Point No 6 - ASK what size the file should come out at when you load it in the machine. (lol)
Cos let's face it, I bet it would have cut far more easily if it was bigger to begin with!
We then had a week or so of a hiatus whilst Amy sorted out the file. She sent me a file that came out at the right size, but had multiple cutting lines. Eeek! I found this out when I tried to cut it, it seemed to be going over some parts several times. So I used the machine to draw it out, and yes, it was. So I told Amy and she sent me another SVG file, this time with a single cutting line, hurrah, which also came out at the right size to fit a 10x8" frame, hurrah!
So testing this SVG would be dead easy right? I'd use the same paper and the same settings, this should be a no brainer.
Except what? what? it's bigger so less intricate, why is it NOT cutting the foliage bits? WHAT ARE YOU DOING YOU BEAST OF A MACHINE! Arghhhhhhhhhhhhhhhhhh!
 |
| At first I thought it was because it was right up at the edge (my bad placement on the mat) |
 |
| Nope moving it to the other end of the mat didn't work. How weird! |
 |
| The back where you can see it had half cuts BUT ALSO was mangling the underside of the paper |
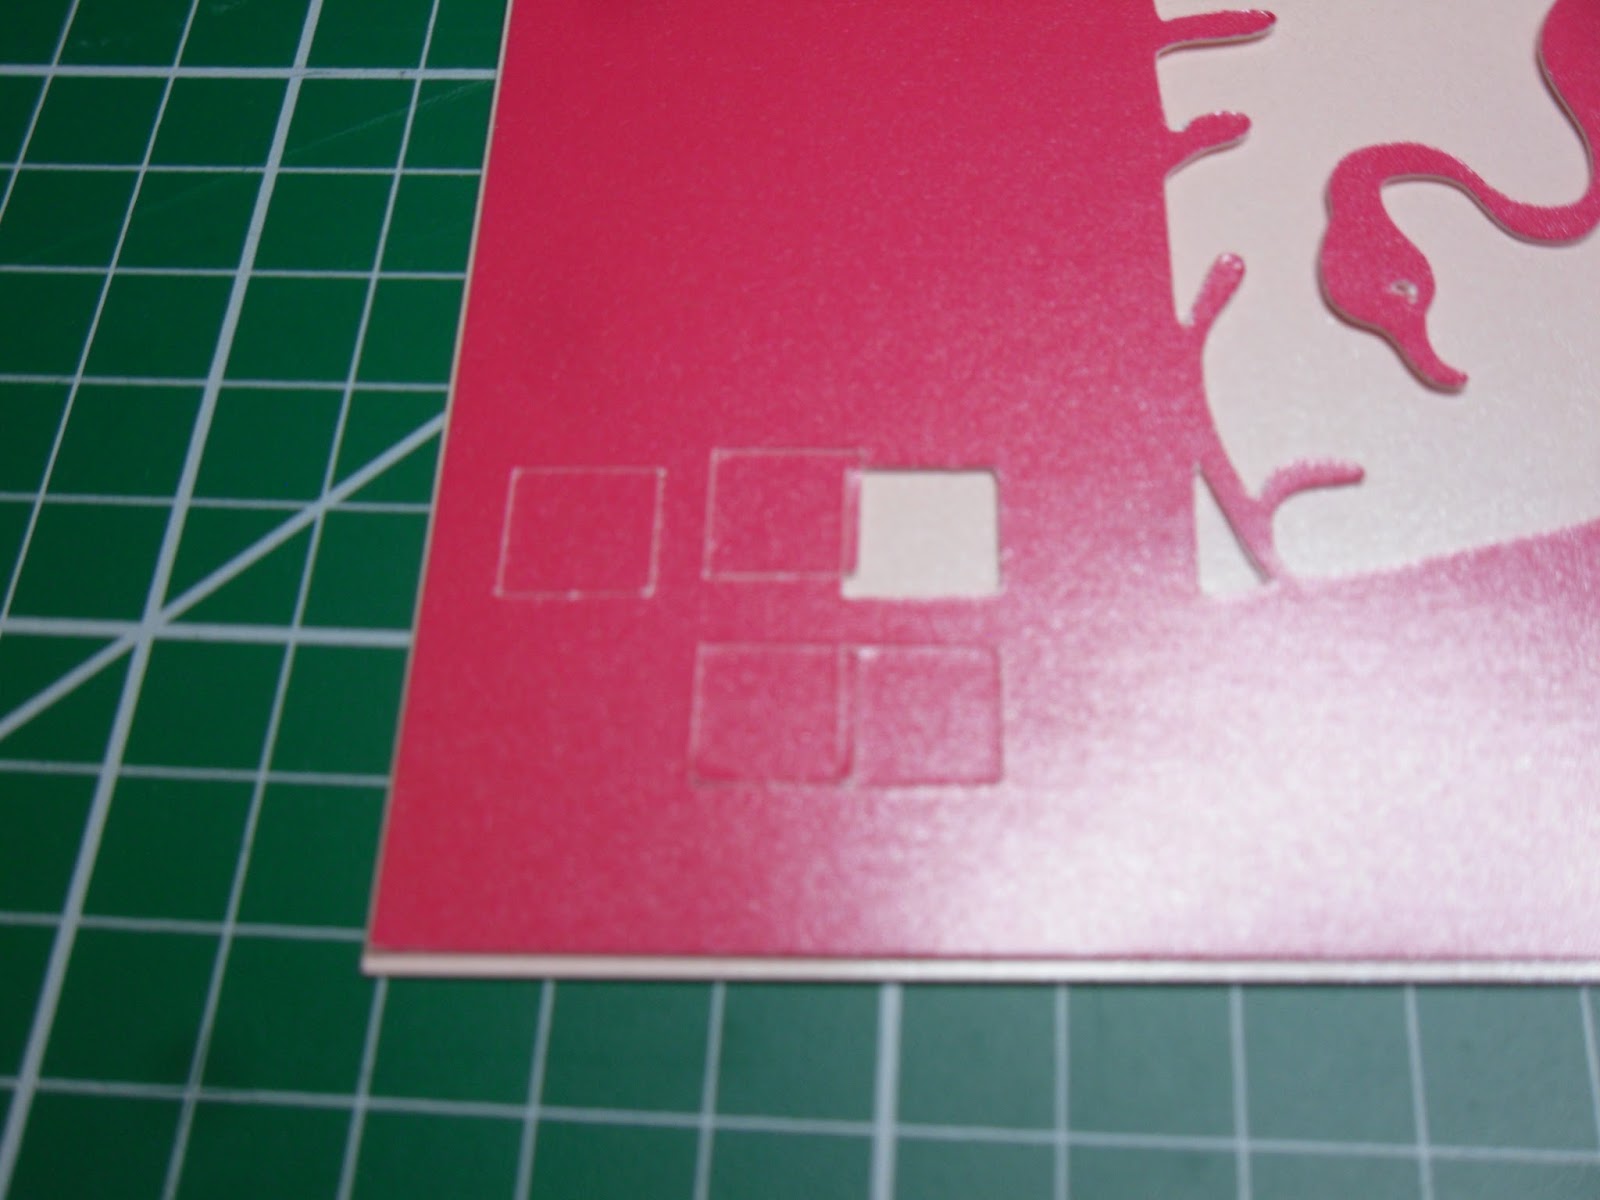 |
| Initial Test Cuts for Adorable Scorable. The Fifth test square worked. |
 |
| Adorable Scorable image |
So I thought right, it's DEFINITELY NOT the file. The file cuts absolutely fine. It cut fine when it was much smaller on that paper, it's cutting fine on the thicker card. So what could have changed - and I realised I'd used the blade a lot, and also dropped it on the floor between the original smaller file and the new correctly sized file.
I had a think and decidedthat as the pressure was lower than before, and the mangled bits were on the underside of the paper it couldn't be a pressure issue, because paper mangled by pressure is on the top usually (I know this from using Construction Paper).
I checked that the blade housing didn't have debris in, I took the blade and checked it under a magnifying glass, but couldn't tell if it was truly pointy or not, I tried uninstalling and reinstalling the blade, nothing seemed to be wrong. So I tried again with a cardstock between Adorable Scoreable (350gsm) and the Cartridge (130gsm) I'd been using. Did a lot of test cuts, it seemed happy at 6.75 for the blade and pressure of 0.
 |
| Attempting different card half way between Adorable Scorable and the Cartridge Paper I'd been using |
I checked in the Gentleman Crafter's PDF and I should have only needed 4-5 pressure a card of around 180gsm, but I needed the blade to be at nearly 6.75 for it to cut nicely on card that was only about 160-180gsm thick (Adorable Scorable is 350gsm)!
 |
| Nice cut on 160/180gsm card at nearly 7 for blade eek! |
Learning Point No 7 - The Standard Blade is quite delicate. If you've done everything else that usually works and it still doesn't, your blade may well be broken so slightly that it'll still cut, with more pressure and depth than before, but if the cardstock is coated, it won't be a super clean cut.
So I changed the blade, redid the Flamingos in Blue Adorable Scoreable for my carer and ta da! It was on Blade Depth 5.1, pressure 1 and no tugging of the coating at the sharp angles! Relief!
 |
| Test cut at 4.5 and 5 with new blade |
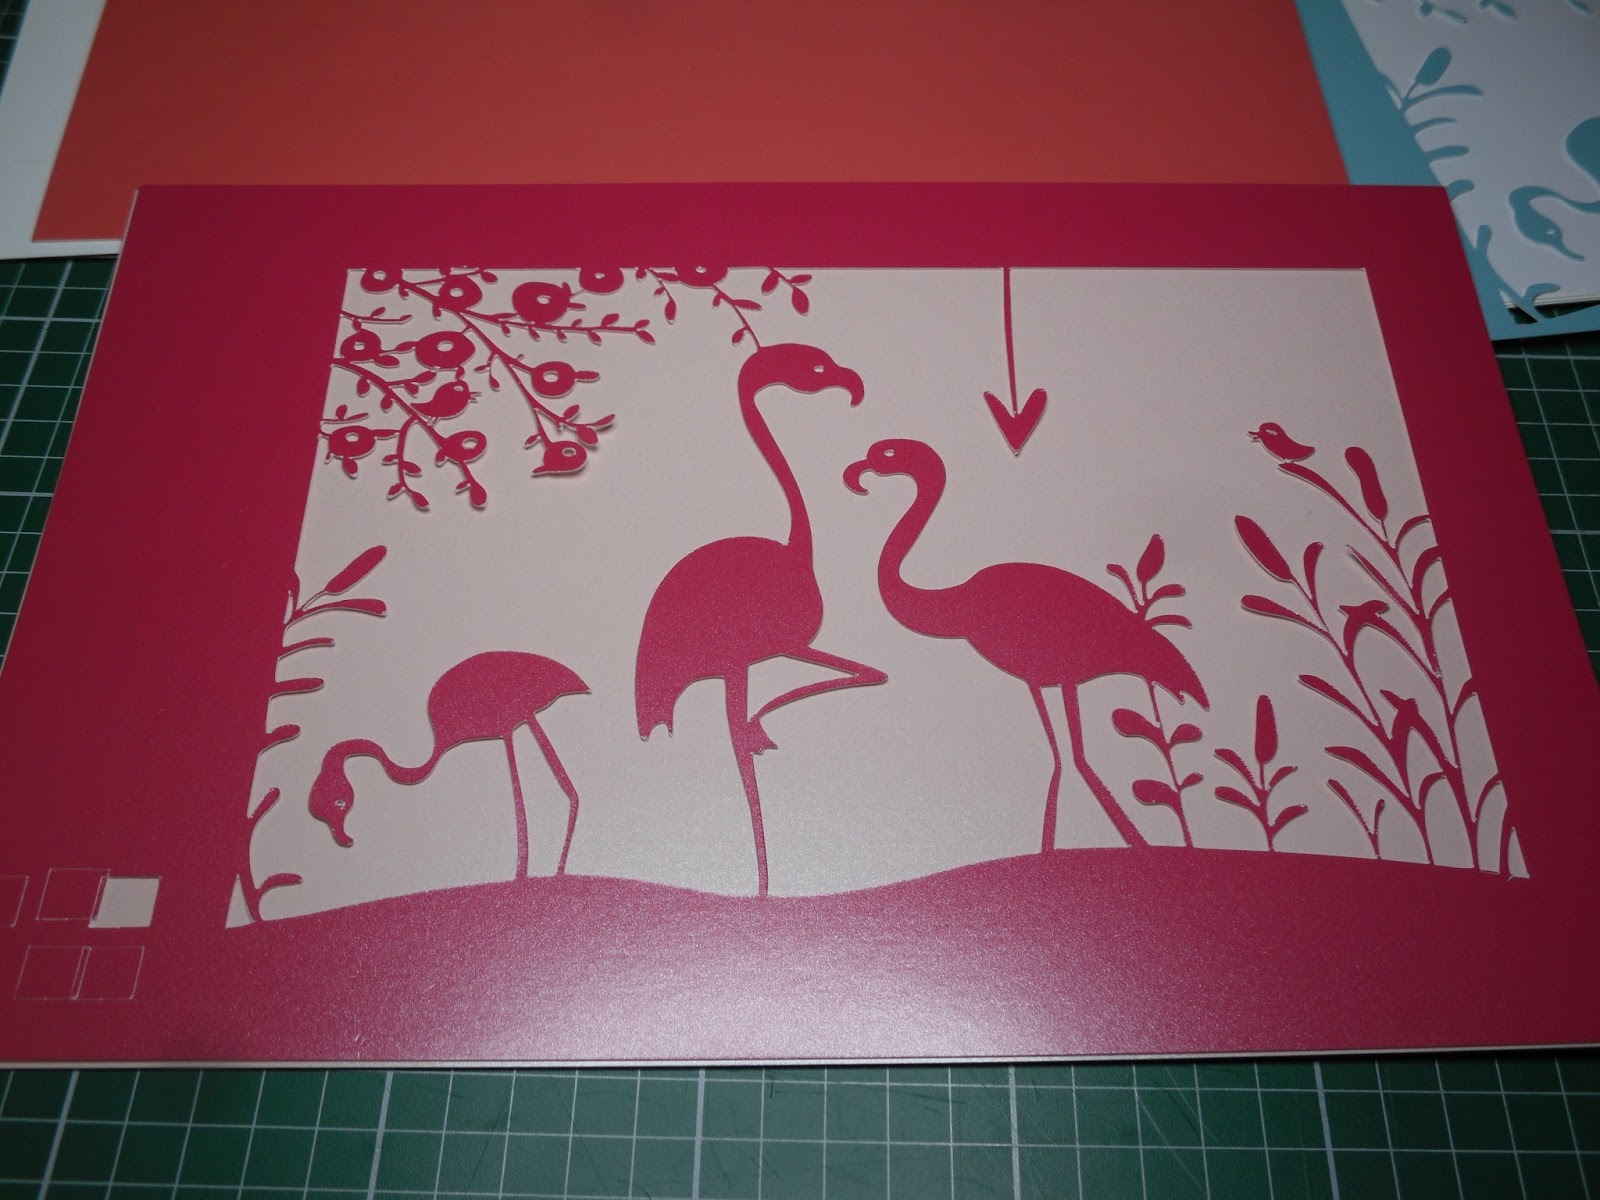
 |
| One final beautiful clean cut Flamingos! |
Hopefully I had all those sorts of issues so you don't have to!
That's it - Basic machine upkeep, maintenance and set up is all done and dusted. The next set of posts will be about using Basic Shapes and manipulating them to make simple and more complex shapes and images within the Machine itself.
Hello Please could you tell me what size the Live Laugh Love project from the Brother website was when you scanned it in? I had trouble getting to grips with my CM600 years ago and hid it in the cupboard. Now I thought I'd try again, Any help is appreciated x
ReplyDeletesorry I only just realised you asked. It's tiny when scanned in from the magazine. I instead scanned it via my printer/scanner, enlarged it, then scanned the enlarged one into the snc. the snc has now had scanning functions much improved, I suggest you get it out of the cupboard, and install the software upgrade and see if it's easier this time!
DeleteExcellent article. Very interesting to read. I really love to read such a nice article. Thanks! keep rocking. solid carbide tool manufacturers
ReplyDelete